

.jpeg)
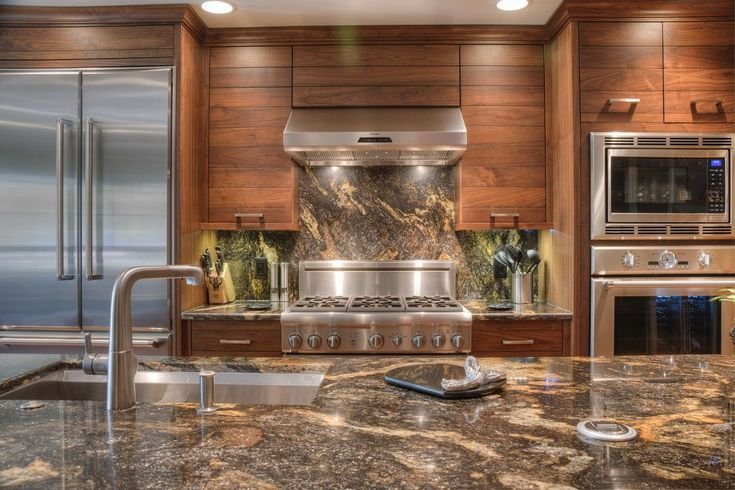
Short answer: almost every granite or quartz kitchen has seams, and that is normal. What separates a $45/sq ft job from a premium one is where the seam lands, how tight it closes, and how well the color is matched. This guide shows you exactly what to look for before you sign with any fabricator in Dallas–Fort Worth.
Why Your Countertop Has Seams at All
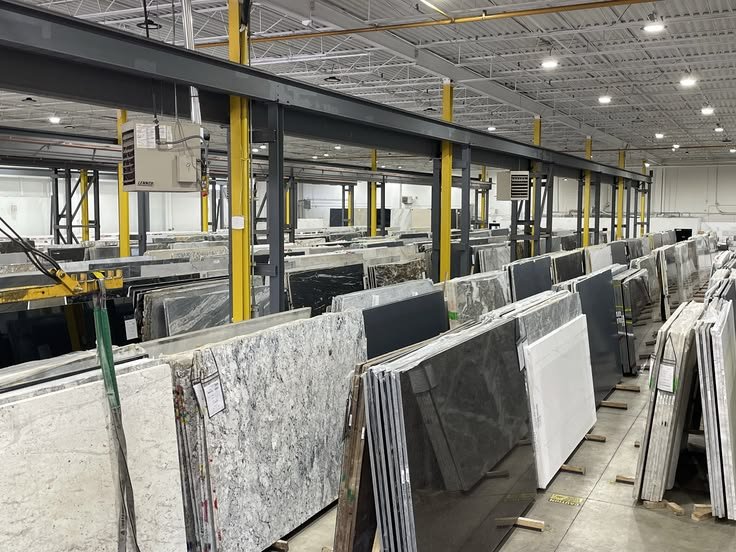
Granite, quartz and quartzite arrive at our shop as slabs, not as rolls of material. A typical slab runs roughly 55–65 inches wide and 100–130 inches long, and jumbo quartz slabs top out around 126–130 inches. Your kitchen is almost always bigger than that.
So if any of the following describe your project, plan on at least one seam:
- An island longer than about 10 feet
- An L-shaped or U-shaped run of counters
- A galley kitchen with two long opposing runs
- A peninsula that wraps a corner
- Material delivered in standard (not jumbo) slab size
A fabricator who promises you a completely "seamless" kitchen on a standard slab is either upselling you to a jumbo slab without saying so, or is about to surprise you on install day. Honest seam planning is a sign you are dealing with professionals — not a red flag.
Where a Seam Should Be Placed
Good seam placement does three jobs at once: it hides the joint visually, it sits on solid cabinet support, and it stays out of high-stress zones where stone wants to crack.
Good seam locations
- Inside corners, where the counter changes direction and your eye naturally breaks the line
- Over a cabinet partition or stretcher, so the joint is fully supported underneath
- At a cooktop or range cutout, where the appliance interrupts the surface anyway
- Behind the faucet deck on a long run, where backsplash shadow helps disguise the line
- At a natural material break, such as the transition from counter to peninsula
Locations we avoid
- Across an undermount sink cutout — this is the weakest, wettest, most-used point in the kitchen
- Over a dishwasher opening, which has no solid support beneath it
- Through a narrow strip of stone, where there is too little material for the epoxy to bond to
- Dead center of a large island, right where everyone puts their hands and eyes
- At a cutout corner or any point load, which concentrates stress exactly where the stone is weakest
Seams near a sink are the single most common source of callbacks we see on work done elsewhere. Constant moisture plus daily leaning on the front edge will eventually show up in any joint that was not supported properly. If your fabricator proposes a seam at the sink, ask them to show you why no other option exists.
How Many Seams Should You Expect?
| Layout | Typical seams | Notes |
|---|---|---|
| Island up to 8 ft | 0 | Fits a single slab in most materials |
| Island 9–11 ft | 0–1 | A jumbo slab can often cover it seamlessly |
| Island 12 ft+ | 1–2 | Seam placed over a cabinet partition |
| L-shaped perimeter | 1–2 | Usually at the inside corner |
| U-shaped perimeter | 2–3 | One per corner transition |
| Full kitchen + island, average Texas home | 2–4 | Depends on slab yield and layout |
Fewer seams is not automatically better. Forcing a long run out of one piece sometimes means accepting a seam in a far worse position, or wasting so much of the slab that you pay for a second one anyway. The goal is the right seams, not zero seams.
How a Good Fabricator Hides a Seam
1. Digital templating and slab layout
We laser-template your kitchen, then lay your actual slab photo into the layout so you can see where every cut falls before anything is cut. This is also where you decide which part of the veining lands on the island — the single biggest visual decision in the whole project.
2. Pattern and vein matching
Where the two pieces meet, the movement should continue across the joint instead of stopping dead. On book-matched slabs, the pattern mirrors across the seam, which turns a technical necessity into a design feature. On busy, small-scale granite patterns, a well-matched seam can be genuinely difficult to find.
3. CNC cutting for a tight joint
Hand-cut edges leave gaps that have to be filled with more epoxy, and more epoxy means a more visible line. CNC-cut edges close up tight. Leading quartz manufacturers specify finished seams no wider than about 1/32 inch — roughly a credit card's thickness.
4. Color-matched adhesive
The joint is bonded with a stone-specific polyester or epoxy adhesive, tinted on-site to match your slab. On a white quartz, the installer mixes white; on a dark granite with gold flecks, the tint is built to match the dominant background tone. This step is done by eye, in your kitchen, by someone who has done it a thousand times — or it is done badly.
5. Flat, level setting (no lippage)
Lippage is when one side of the seam sits higher than the other, so you can feel the ridge with your fingertips. It is usually caused by cabinets that are out of level rather than by the stone. Professional crews shim and level the cabinet run before the stone goes down, then polish the joint flush.
What an Acceptable Seam Actually Looks Like
| Standard | What to expect |
|---|---|
| Seam width | About 1/16" or tighter on granite; around 1/32" on quartz |
| Lippage (height difference) | You should not feel a ridge when you run your hand across it |
| Color | Fill blends with the background tone, not noticeably lighter or darker |
| Pattern | Veining continues logically across the joint |
| Finish | Polished flush — no dull band, no epoxy smear on the surface |
| Visibility test | Barely noticeable standing upright; visible up close is normal |
Be realistic about the last line. A seam you cannot find from six feet away under kitchen lighting is an excellent seam. A seam that is invisible from every angle at every hour of the day does not exist in natural stone.
Seams by Material: What Changes
Granite
Natural, random movement is forgiving. Busy, speckled or dark granites hide seams best. Uniform solid-color granites are the hardest of the natural stones to seam invisibly, because there is no pattern to distract the eye.
Quartz
The most demanding material to seam well. Because engineered quartz is visually consistent, any color mismatch in the fill shows immediately — there is no natural variation to hide behind. White and light-gray quartz with minimal veining punishes sloppy work. Done properly, though, quartz seams are among the tightest you will see.
Quartzite and marble
Dramatic, directional veining makes pattern matching across the joint essential. These are the materials where the slab layout conversation matters most, and where book-matching pays off visually. For a side-by-side on how these materials behave day to day, see our quartzite vs quartz vs granite comparison.
Do Seams Weaken the Countertop?
Not when they are placed and bonded correctly. A properly supported, properly bonded seam is not a weak point in daily use — the adhesives used are stronger than the bond you would get from the stone simply resting on cabinets. Problems come from placement over unsupported spans, poor edge preparation, or the wrong adhesive, not from the existence of a seam.
That said, the area around a seam deserves the same care as the rest of the surface: wipe up standing water, avoid dragging heavy cast iron across it, and never sit or stand on the counter near a joint. If a seam ever does open or chip, it is almost always repairable — our guide on repair vs replace walks through the options.
Does Seam Work Cost Extra?
On most quotes in the Dallas–Fort Worth area, seam labor is built into the installed price rather than billed as a separate line. Where cost genuinely changes is in material: eliminating a seam on a long island may require upgrading to a jumbo slab or buying a second slab, which is a material decision, not a labor one.
Watch out for quotes that look unusually cheap per square foot and then add a charge per seam at the end. Ask upfront whether seam labor, color-matched epoxy and leveling are included. Our 2026 Dallas cost guide breaks down what should and should not appear on a legitimate quote.
Six Questions to Ask Before You Sign
- How many seams will my layout need, and where exactly? Get it marked on the drawing, not described verbally.
- Will any seam fall at the sink or over the dishwasher? If yes, ask what alternative was considered.
- Can I see the slab layout before cutting? A shop with digital templating can show you this in minutes.
- Is the adhesive color-matched on site? Pre-mixed generic filler is a shortcut you will look at every day.
- Who levels the cabinets if they are out of true? This determines whether you end up with lippage.
- What is the warranty on the seam itself? Separation and lippage should be covered by workmanship.
Any fabricator worth hiring will answer all six without hesitating. If you are still comparing shops, our guide on choosing a local fabricator in Texas covers the rest of the vetting checklist.
Frequently Asked Questions
Can countertop seams be completely invisible?
Not completely, but they can be very close. With a tight CNC cut, matched veining and color-matched adhesive, most people cannot locate the seam from normal standing distance. Up close, under direct light, you will see a fine line — that is normal and expected on every slab material.
Where is the worst place for a seam?
Across a sink cutout. It combines constant moisture, daily pressure on the front edge and the least supported span in the kitchen. Over a dishwasher opening is a close second.
Do waterfall islands have seams?
Yes — at the mitered corner where the horizontal top turns down to the floor. A well-executed miter with continuous veining makes that joint read as a design detail. See our waterfall edge guide for how that corner is built.
How long before I can use the countertop after seaming?
The adhesive sets in roughly 20–45 minutes depending on material and shop temperature, and the crew polishes the joint before leaving. Normal use the same day is fine; we recommend keeping standing water off a fresh seam for the first 24 hours.
Can an existing visible seam be fixed?
Often, yes. A seam that has separated, discolored or developed lippage can usually be reground, re-epoxied with a better color match and re-polished in place, without replacing the slab. It is worth an inspection before assuming you need new counters.
Does the edge profile hide the seam?
Not on the top surface. The edge profile affects how the seam reads on the vertical face and on waterfall miters only. Our edge profile guide explains which profiles suit which kitchens.
Planning a Kitchen in DFW? Let's Map Your Seams First
At Texas Specialized Quartz & Granite, we digitally template every job and walk you through the slab layout before a single cut is made — so you know exactly where your seams go and why. We fabricate and install across Dallas, Plano, Frisco, McKinney, Allen, Arlington, Garland and Murphy.
Request a free quote and slab layout review — bring your kitchen measurements, and we will show you the seam plan up front.